Though connecting to the Internet may look like an easy job, it can be complex for those people who don’t aware of the types of Internet and network. As Internet has become an integral part of our lives, so it is very important to be familiar with the know-how to connect. Whether you are performing Netgear extender setup, playing web games, shop online or downloading apps in bulk, make a reliable connection with Internet is an essential key. Here, we will let you know about 3 ways to connect to the Internet. Read on.
Using wireless broadband
First of all, make sure that WiFi connection on your device is turned on. You can check this by clicking on WiFi symbol on the toolbar. After that, go to your device’s network settings and click on WiFi icon. Doing so will open a drop-down menu that contains a list of available connection nearby.
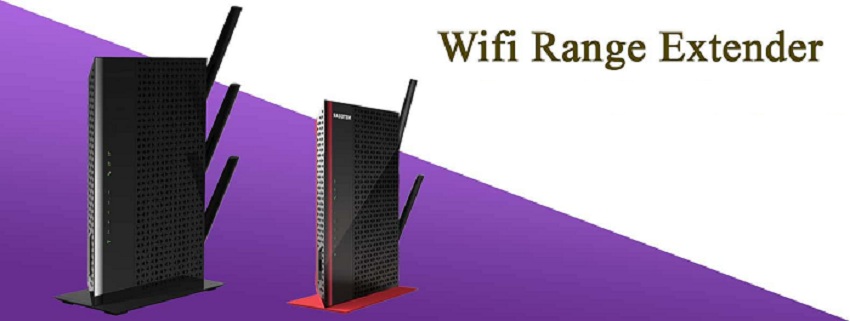
Now, find out the name of your home network. You can check the manual or navigate to mywifiext.net website to know the same.
However, users face issues like mywifiext not working while accessing this webpage. To resolve this problem, connect your extender wirelessly or with an Ethernet cable to the network.
As soon as you select a network to connect to, it will ask for a password. Some networks are not public, so they require you to enter a passcode. Type the default passkey and proceed further.
It will take some time to connect a computer to a wireless source. In case your PC is unable to create a connection with router, it will break the connection. To troubleshoot this, move it closer to the source, disconnect it and connect it again.
Using Ethernet cable
There are a number of devices which can connect directly to router through an Ethernet cable. But some do not come with this function e.g. laptops. To make use of this method, make sure that you have adapters you may need during the process.
Take an Ethernet cable and connect its one end to broadband source which may be a router (in most of the cases) or modem. Next, look for Ethernet jack on your PC and plug second of the cable in it.
After that, navigate to computer’s settings and disable your wireless connection making sure your PC identifies Ethernet one.
Since you are done with the whole process, it’s time to test your Internet connection. To do so, launch a web browser, go to mywifiext, and see if it loads properly.
Using dial-up
By using dial-up Internet, you will be restricted to browsing websites which have mostly text and images. It requires you to use a phone line. The downside of this method is that it has the ability to connect one person per phone at a time. In case anyone else has already connected and the phone line is used for making a call, you can only connect when another person will disconnect or hang up. Given that most of the new PCs don’t come with elements to connect to dial-up, so you may need to buy an external USB modem to connect your computer.
Generally, places having dial-up Internet possess two phone lines – one for phone while another for modem. Nevertheless, it may not be plugged in if modem is not being in use. Be sure the phone cable is plugged into both modem and phone jack.
Through another phone line, plug one end of second phone cable into modem jack of your PC and the other end into modem. Next, configure dial-up settings on your computer. You can now easily connect your system to modem by entering username, password and model number.
Once done, make a check to see if your Internet connection is properly working or not. For this purpose, open a web browser and go for mywifiext net setup. In case this webpage loads within a matter of minutes, you have successfully connected to the Internet.
Which method are you going to use to make a reliable connection with Internet? Don’t forget to share your thoughts with us via comments section below.