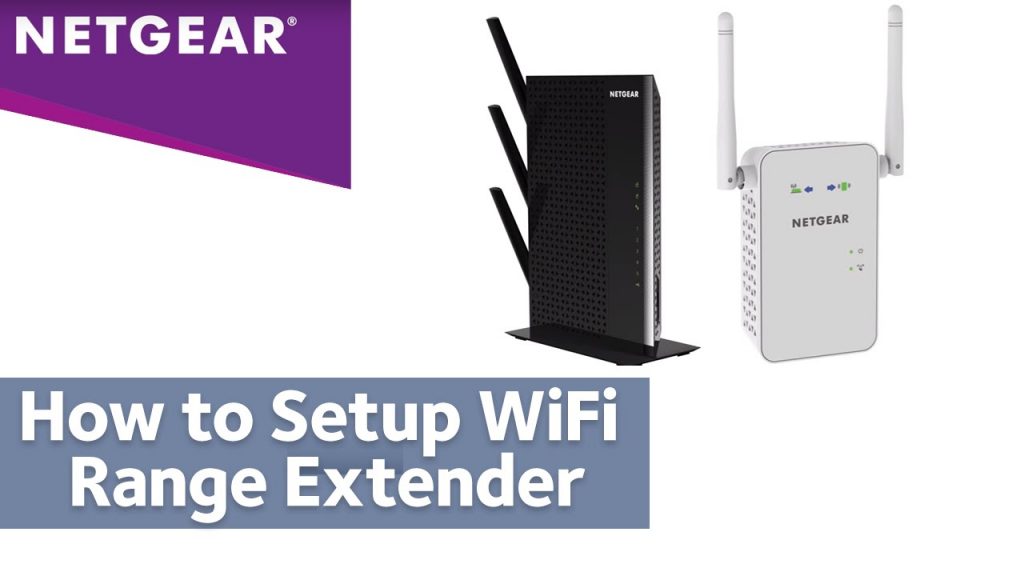
Netgear WiFi Extender Setup
In today’s busy world, people take the process of setup for granted. They do not have much time in going through such annoying steps of troubleshooting. They are so much puzzled in their daily life. That they forget the priorities in their life. They don’t have time to take care of their dear ones, so is it possible for them that they would waste time in Netgear WiFi Extender Setup Keeping this fact in mind, we have come up with this tutorial, just to help the people who don’t give time to their devices and in anger, they usually take a wrong decision that would ruin their life somehow.
So, dear users we actually want that the process Netgear WiFi Extender Setup takes a successful end. That is why we are here to keep our valuable views in front of you. The best and easy way that you can make your setup easy is to meet your devices with the upcoming latest technologies. When your devices are not up to date, how can you make the configuration successful? A kind of error message like “installation failed” is always shown. This process might take your little time but also provides benefits for a lifetime.
Benefits:
- High-class security that controls your home network as well as the door-locks and CCTVs of your house.
- Super-duper speed of Internet without any barrier in the field of signals.
- Always keep you notified if you are crossing the limit of data usage.
- Gives you full access to control the guest and parental access.
- Do not allow intruders to enter your network, it kicks them out from the doorstep.
- A pop-up appears itself when your device needs a dose of updation.
Enough about benefits let us proceed towards the device setup:
Take care of all your devices, and bring them enough closer to each other (extender and the router).
Your router plays an important role that leads to a successful setup, so you have to see that dust should not control it. If you see that dust is trying to cover it, kick that thing out with the help of a clean and dry cloth.
If your router is ugly, don’t be ashamed just set it free and receive the Live Internet connection from it and let your devices meet them. Also be sure that your router does not get hot and mess with other. If it is, it will shake its antennas to the horizontal position and can mess with your other devices and wires. So wait for a short while shutting it down and wait until it gets cool.
Now you can place your extender and the router to the same room and plug it into an electrical outlet.
Put them in an on mode and do not proceed until the power lights are stable. Once they are stiff at a place move towards your computer and launch a web browser. You can open any one of these Google Chrome, Mozilla Firefox or Internet Explorer and jump to the website by typing mywifiext into the address bar.
If you fail to login, check the URL and type it again or you can go for another web browser.
Netgear Genie Setup: Quick and Easy Home Networking
When you are logged in successfully, mywifiext is the most useful site that will help you in getting out of the brain-teaser situation of configuration by taking you to the Netgear Genie Setup page. Once you have reached your destination, it will ask you to show your default details of username and password to proceed forward. If you don’t have the login details, don’t worry. Just grab your phone and ask your Internet Service Provider for the same. As soon as you get them, fill them with all the required fields.
After that the page of Netgear Genie will do the job for you by showing you all the steps of troubleshooting, you just need to trust those steps and keep following its positive responses until it asks you to click finish to complete the setup.
For more assistance, you can share your views with us. You can also put any question in front of us in the comment box given below and we promise to solve them shortly.